
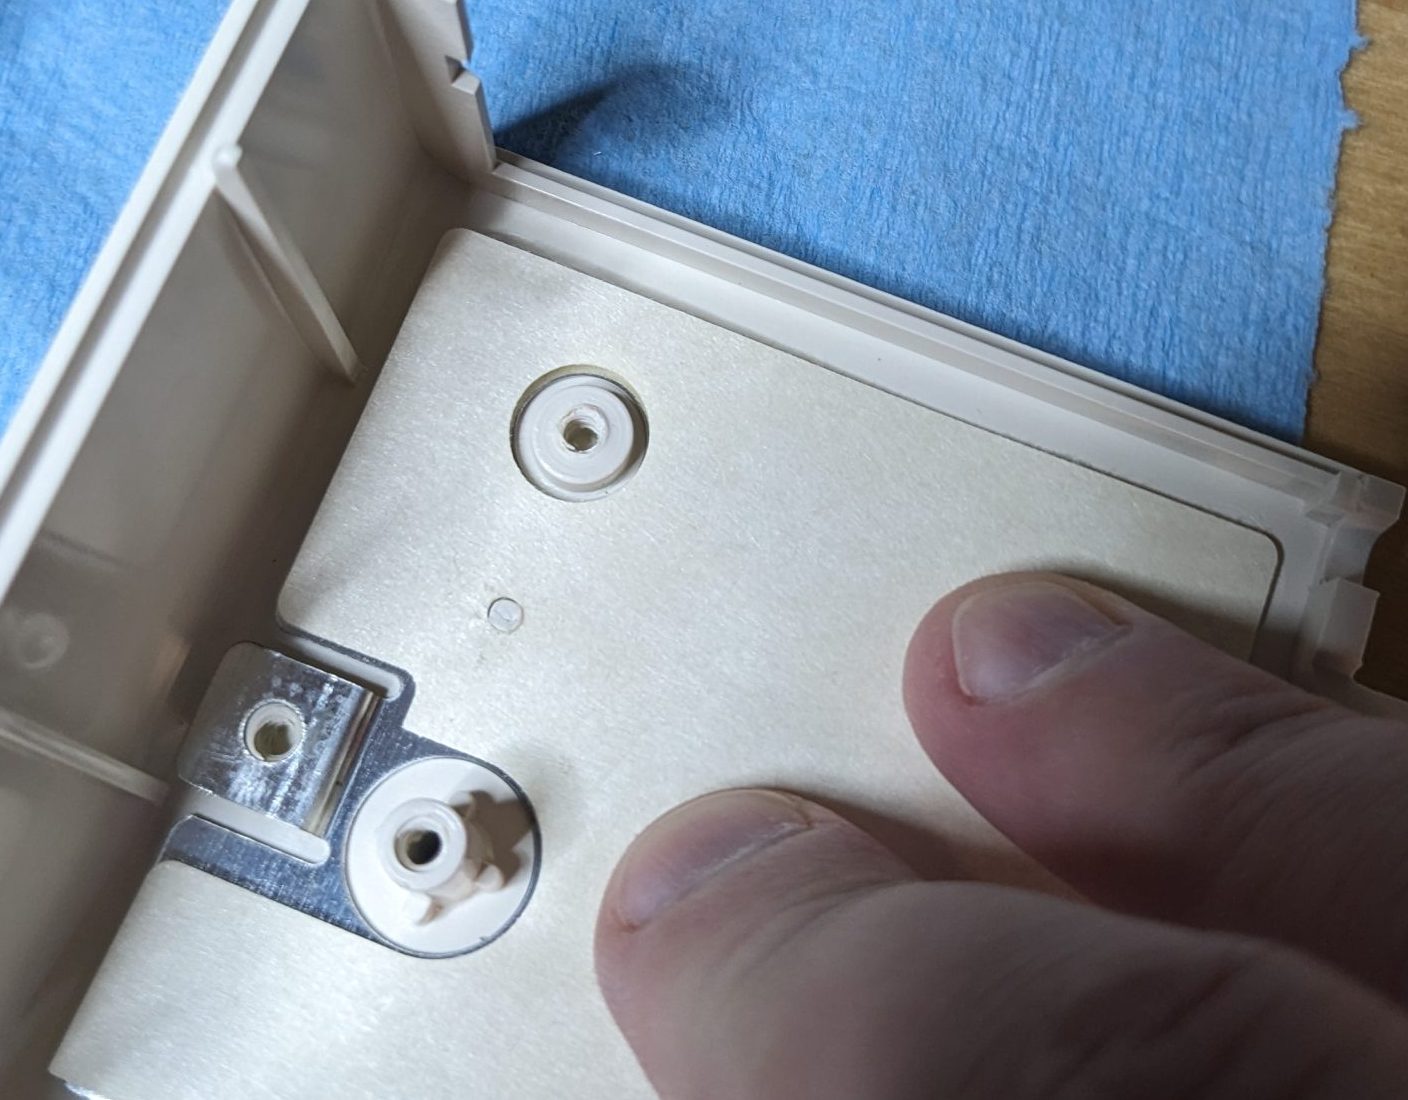
If you’ve spent time dissassembling and reassembling vintage Apple computer products, you’ve leared that Apple’s original assembly method used plastic welding (which is literally melting together plastic). The Apple IIC computers use these plastic welds to hold the little speaker in place and to attach the metal shield to the case. You will inevitably be called upon to break off or otherwise damage some of this welded plastic when doing your repairs.
Today we were refurbishing an Apple IIC when we came upon the thermal welds holding the large metal and paper shield to the bottom of the case. We broke those welds to remove the metal shield in order to retrobrite the case. When it came time to reinstall the shield, we wanted to attach it using a method as close as possible to the original factory installation. We didn’t want to use tape or glue.
Lucky for us, there exists an affordable modern tool for the hobbyist to help with plastic weld repairs: The 3D Printer Pen!
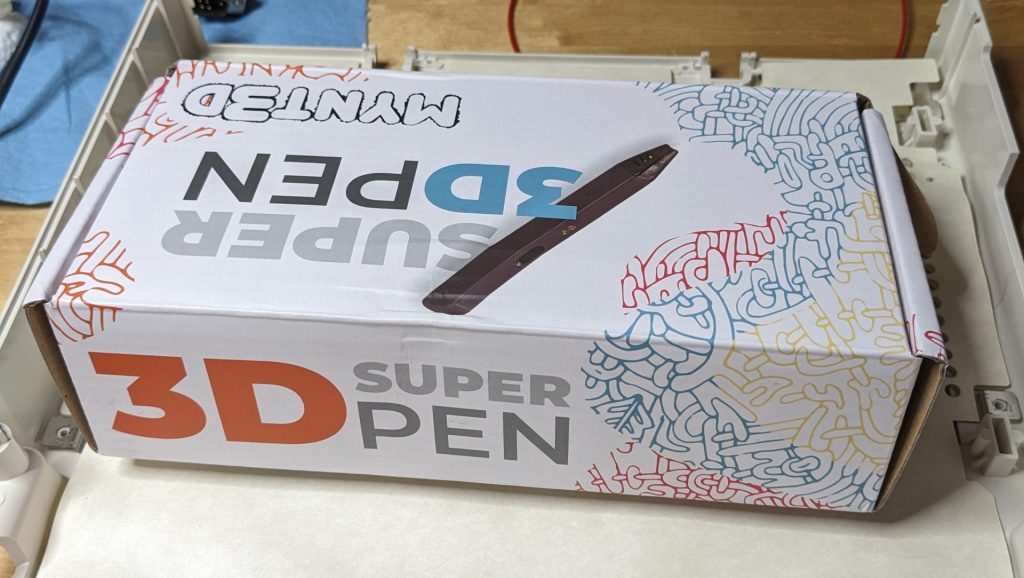
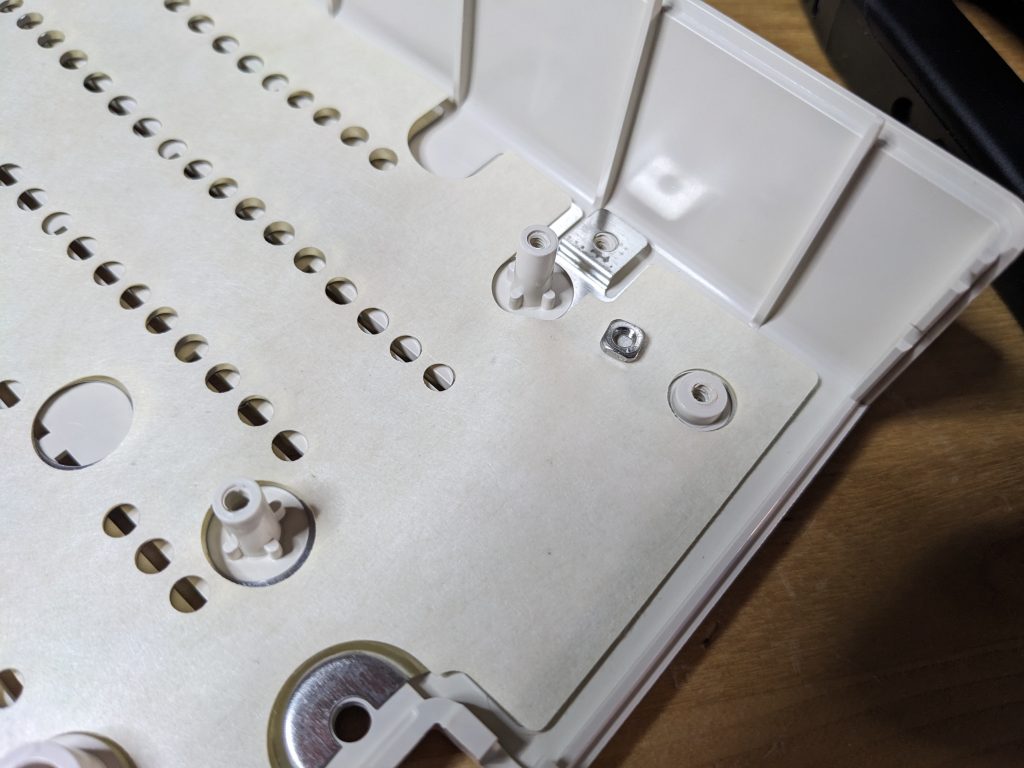
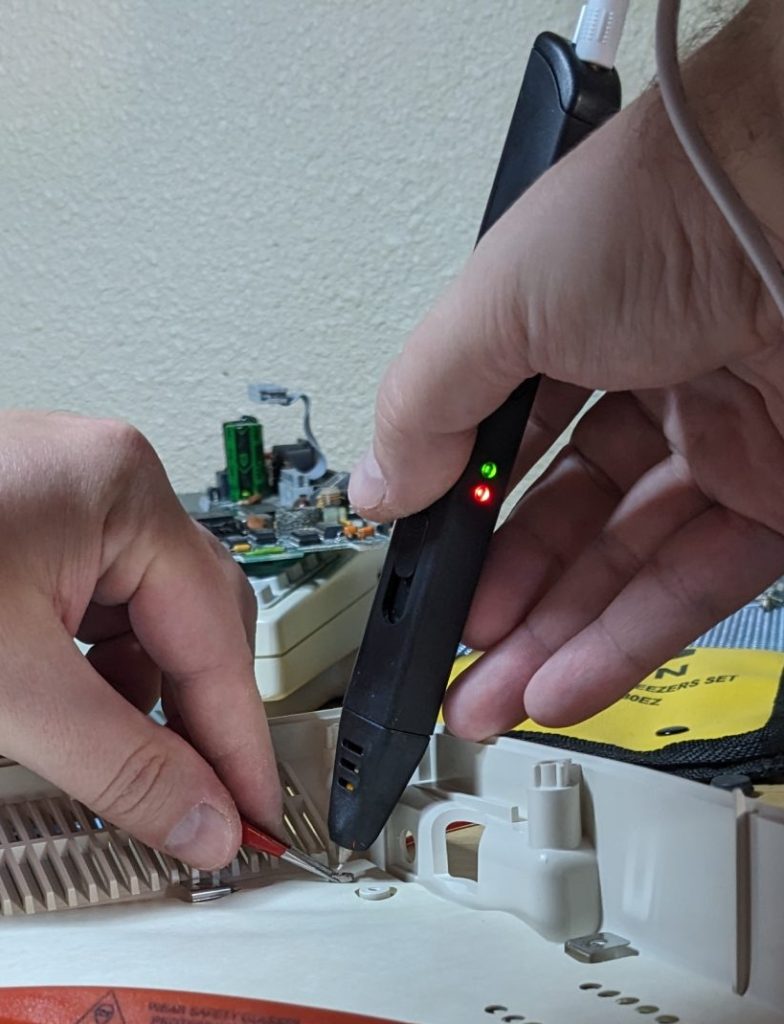
The pen is, well, cheap and it just sort of shoots plastic everywhere when you press the dispense button. We used a small thin square M3 nut from a Prusa MK3S printer project to help guide the 3D printer filament to the right place.
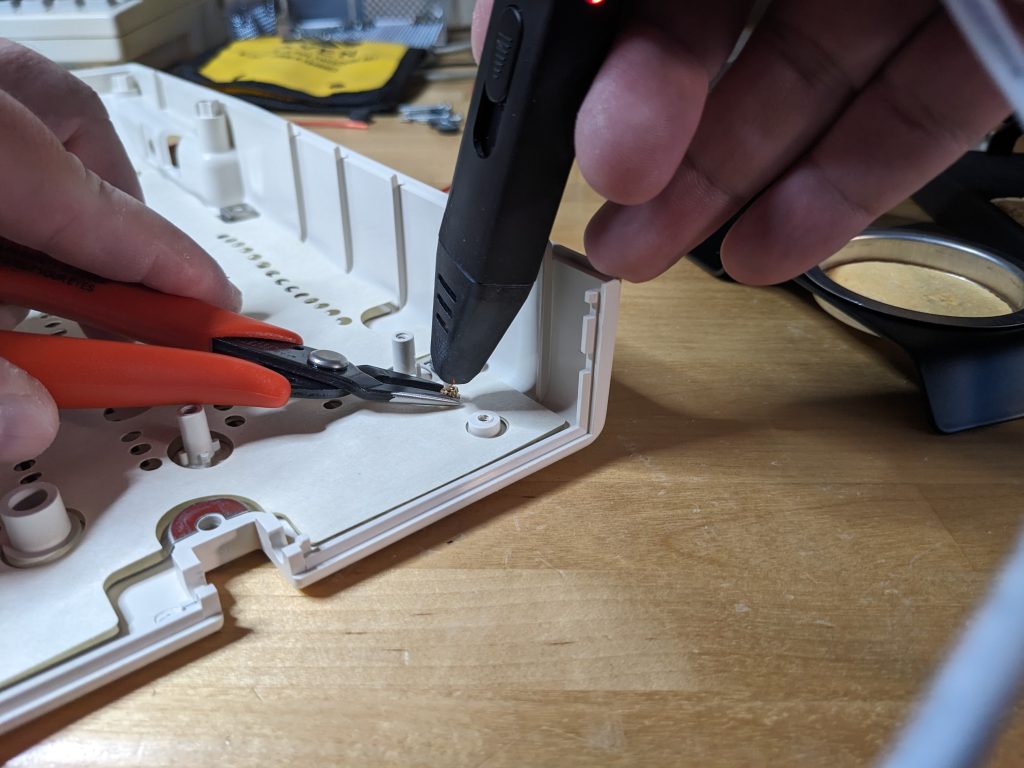
We use small needle-nose pliers to hold the washer in place, then push the pre-heated tip of the 3D printer pen into the hole. Let it melt up a little bit and then press the button on the pen to apply new hot filament into the hole.
The result is a reattached metal and paper shield with a weld that doesn’t look too awful. It definitely holds the metal and paper shield in place.

Only time will tell on whether this method holds up as well as the original Apple IIC factory welds. We’re sure that there are other methods out there, please reach out and share your methods with the rest of the vintage gaming community.