
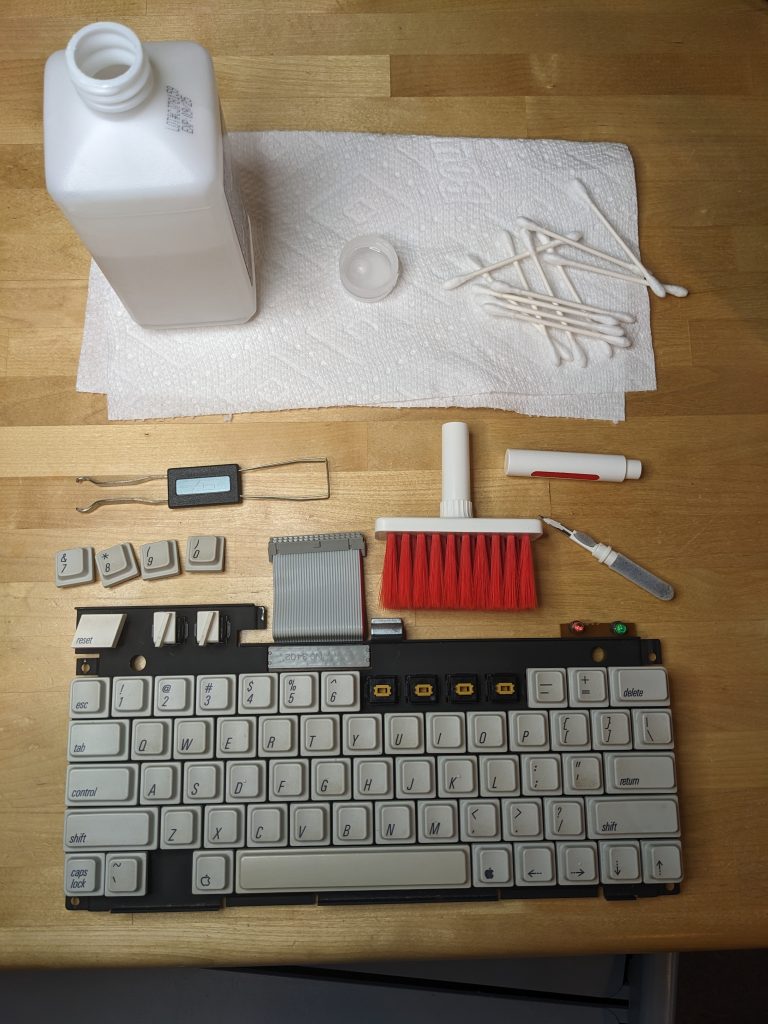
Here’s the basic kit we used for cleaning up an Apple IIC keyboard:
- Phillips screwdriver (6 screws get you inside the Apple IIC)
- Isopropyl alcohol (prefer 91% or greater purity to avoid leaving residues), AND/OR:
- Simple Green cleaner and a medium bristled brush
- Tweezers – for those of us who are fat-fingered
- Key puller – I prefer any “wire” style, available for cheap on Amazon
- “5-in-1” keyboard soft cleaning brush, available for cheap on Amazon
- Q-tips (it’s okay to save money and by Brand X, we are not sponsored by Q-Tip company)
- NO SPUDGER – READ ON WHY I HATE SPUDGERS FOR APPLE IIC!
DON’T USE ISOPROPYL ON THE BLACK MASK PART (Read on to know what this means)
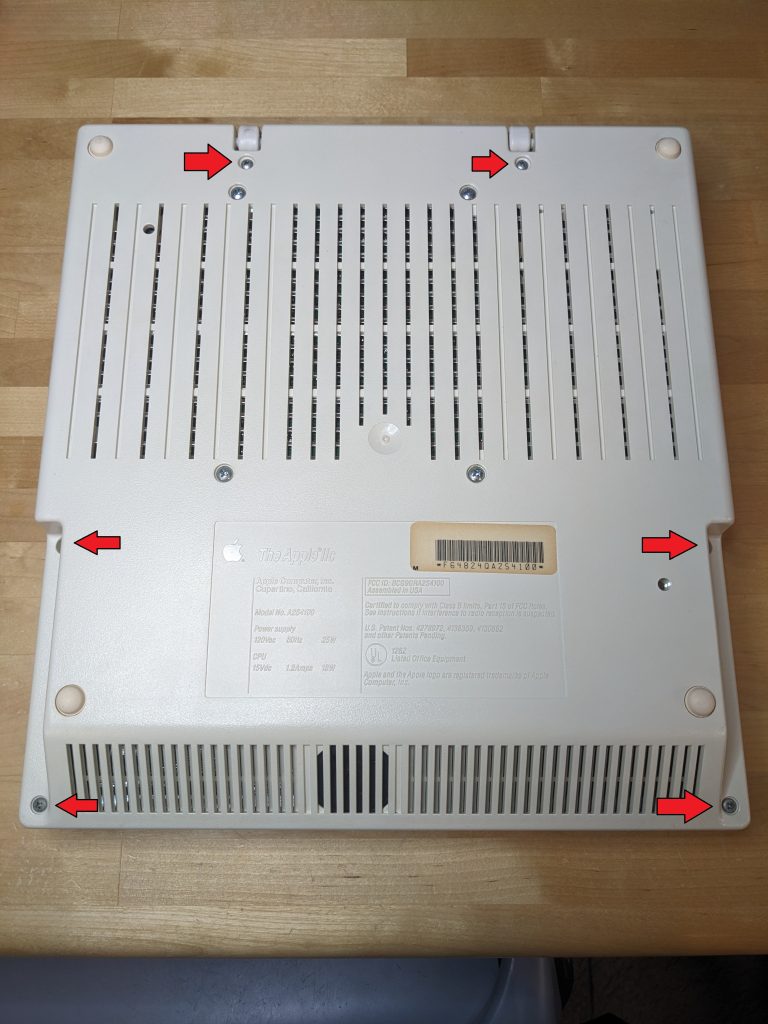
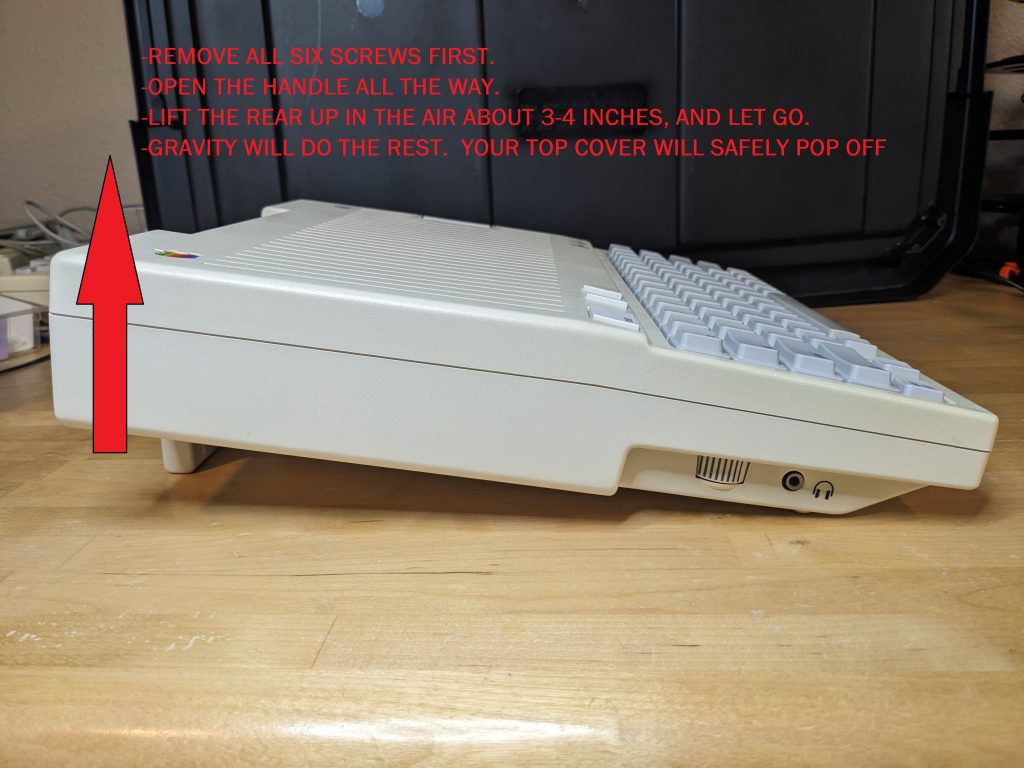
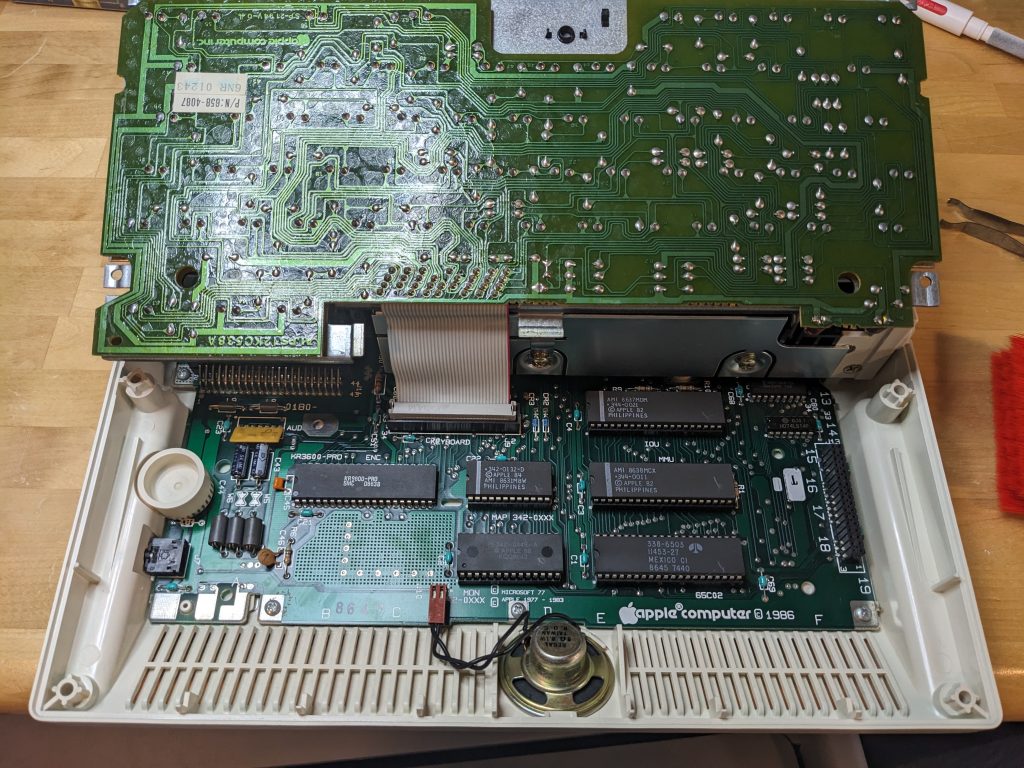
Remove six screws. Don’t remove any of those other screws, or your floppy drive will fall out.
DROP IT WHILE IT’S HOT: The best way to open an Apple IIC without damaging the plastic cover, the plast retaining tabs, etc. is to drop. Yes, the best method is to literally bang this thing a little on your desk. If you go the spudger route, you are 90% likely to leave unsightly tool marks on your case and 50-75% likely to irreversibly break some retaining tabs. Then you’ll be sad. To open your Apple IIC safely, show it some tough love. Trust me, I’ve opened dozens this way and gravity beats the spudger every time.
Once you’ve popped the top cover, set it aside, and this is what you’ll see:
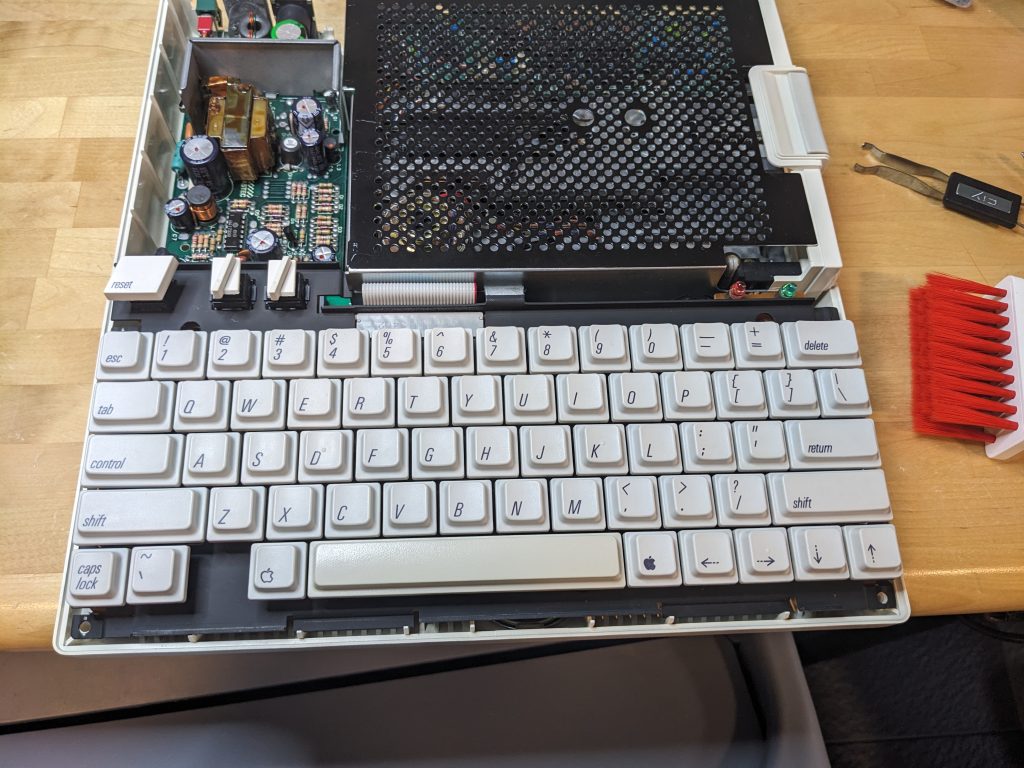
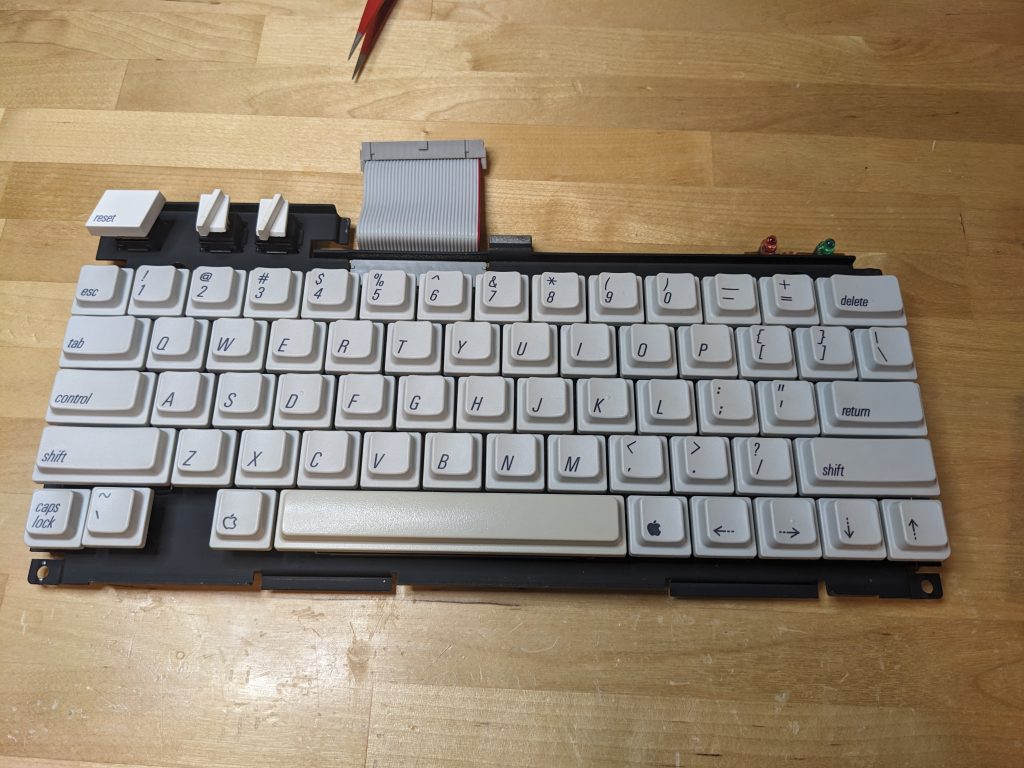
At this point you can tilt your keyboard upwards to reveal the keyboard’s ribbon cable. Gently pry the ribbon cable connector out of its socket.
Let’s get cleaning!
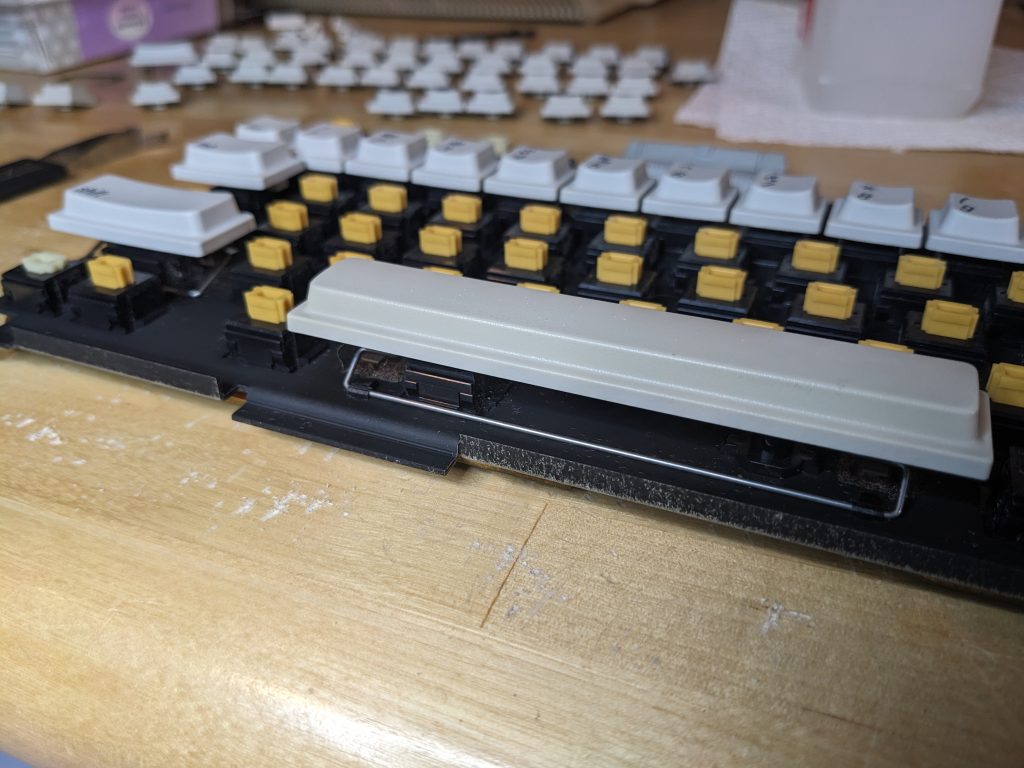
Easiest way to clean is to remove all of the keys first. The reason I like the wire type key cap removers is that they will work for all different sizes of keys:

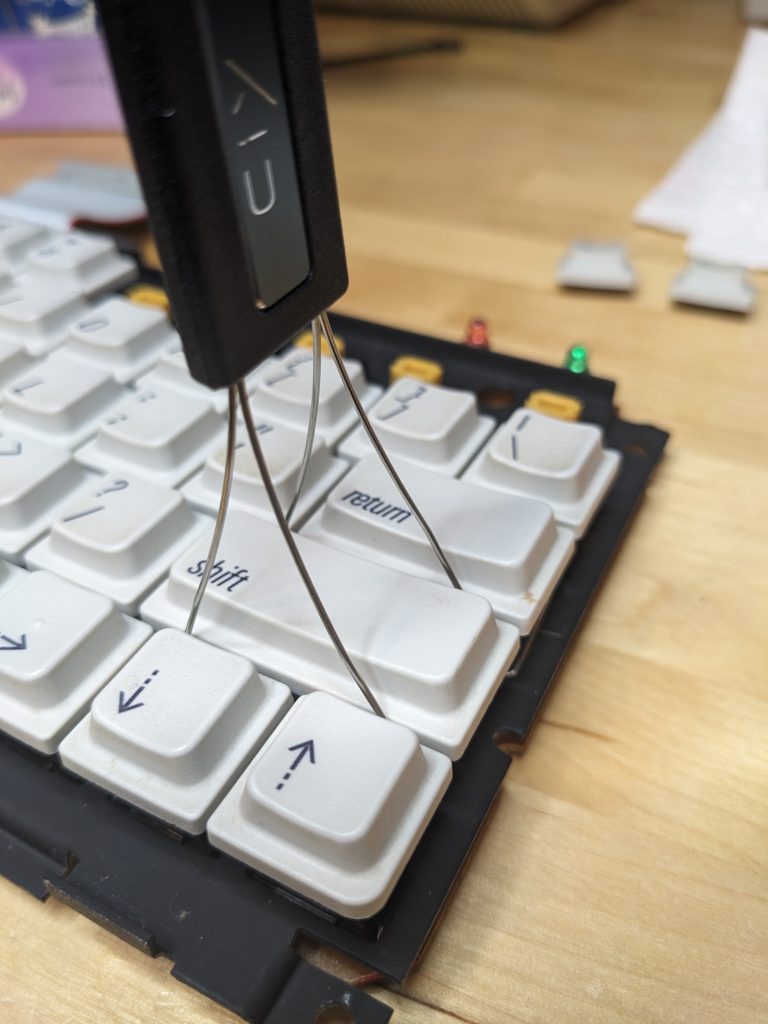
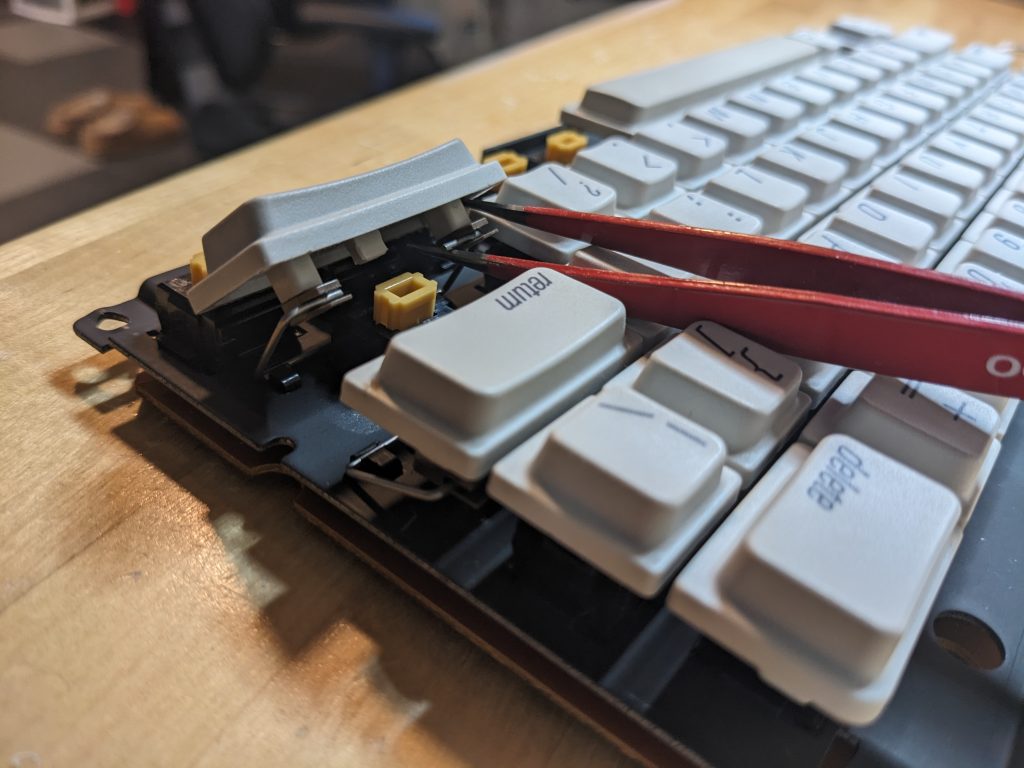
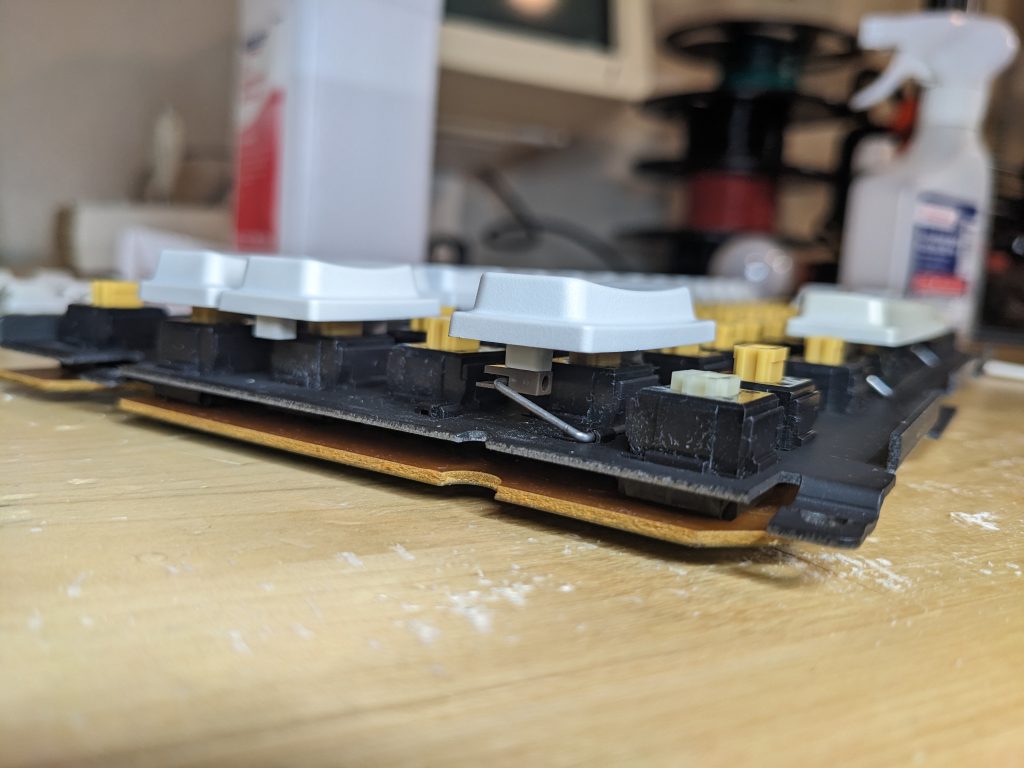
When it comes to the wider keys (return, shift, tab, etc.) don’t pull up too hard! I mean, pull hard enough to get the key off the button, but then once it goes loose don’t wrench the thing off of there. The reason is that underneath these “fat” keys is a little wire retaining clip doo-dad that you don’t want to break.

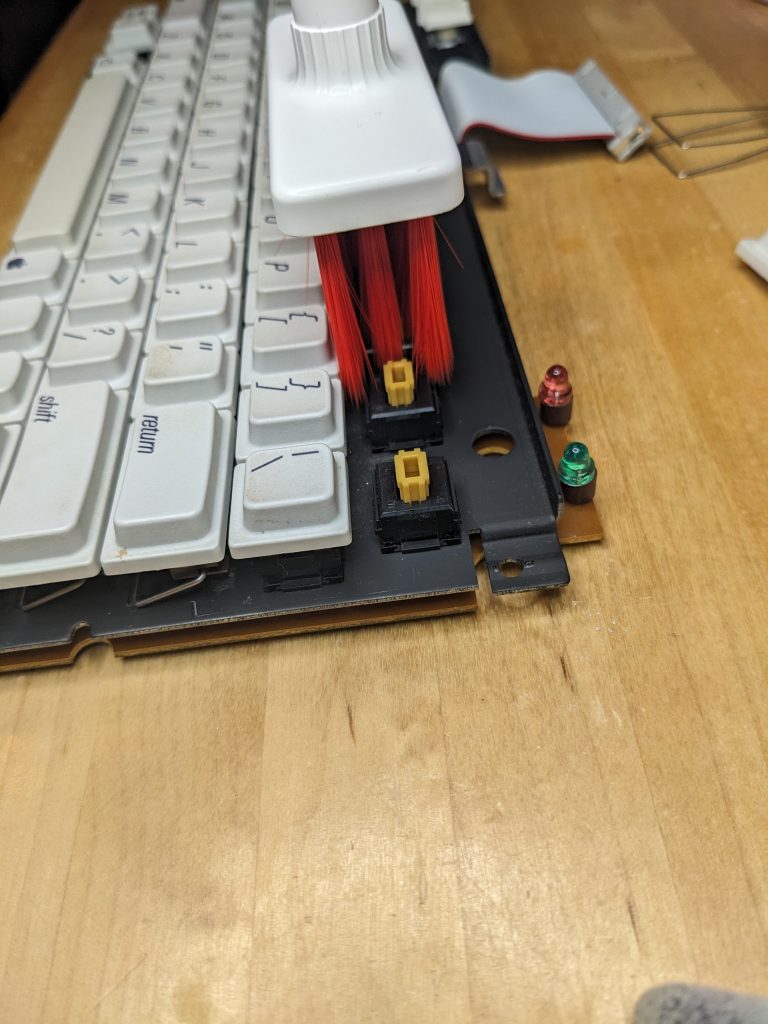
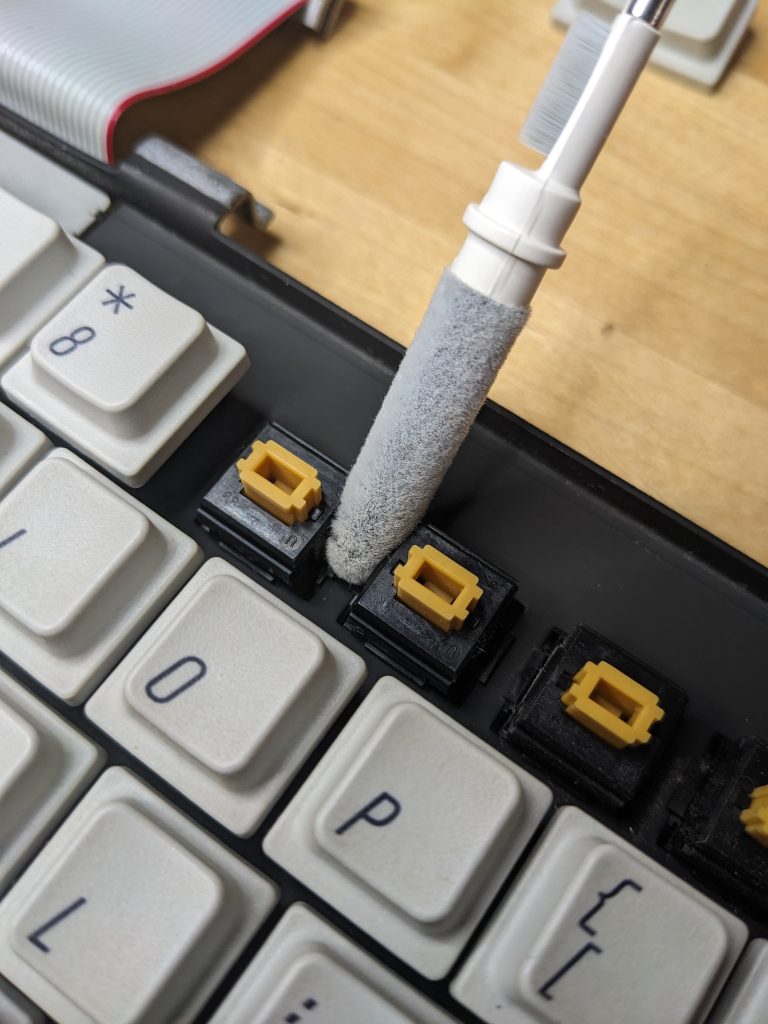
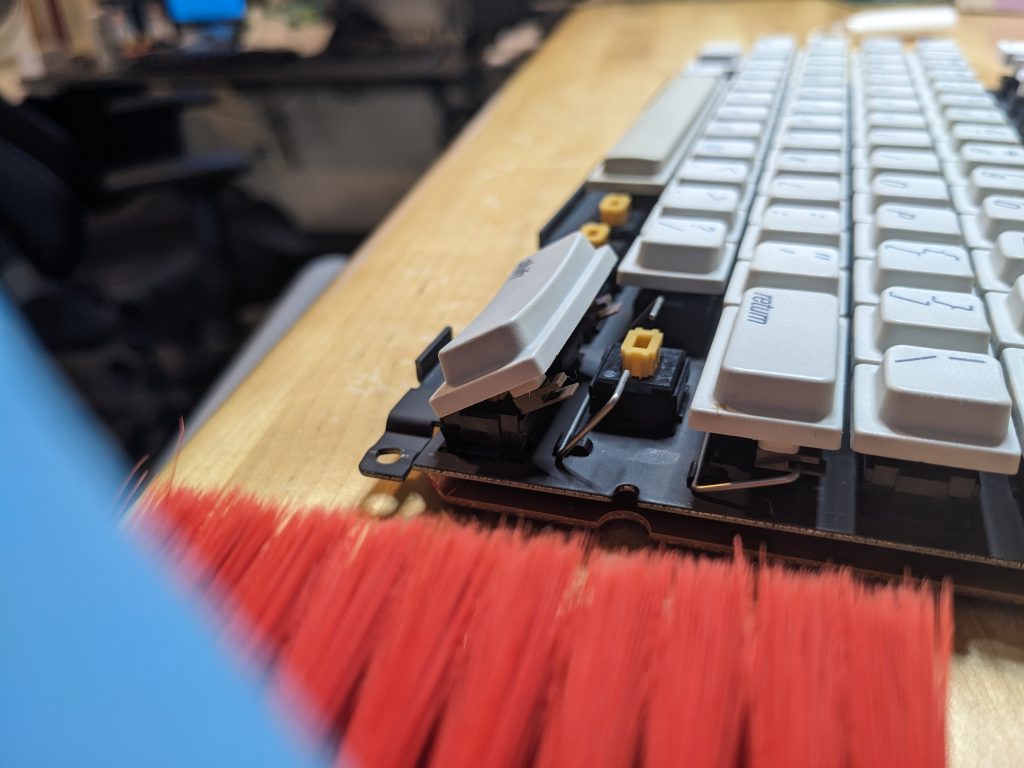
Allright, you’ve removed your keycaps. Use that red brush and its spongy little friend to get into all of the nooks and crannies and gently brush away all the dust bunnies.
ISOPROPRYL SCRUBBING NOT PICTURED: The hard, time-consuming work we didn’t show in any photos is the painstaking work of polishing each and every one of those little grey keycaps with the Q-tips and the alcohol swabs. We are traumatized by hours of meticulous scrubbing and dipping of the alcohol, so that is not pictured here.
DO NOT USE ISOPROPYL ALCOHOL on the black part underneath the keyboard. Weird stuff will happen. The black masking stuff will react with the alcohol and come off and make your keyboard look terrible. Don’t do it.
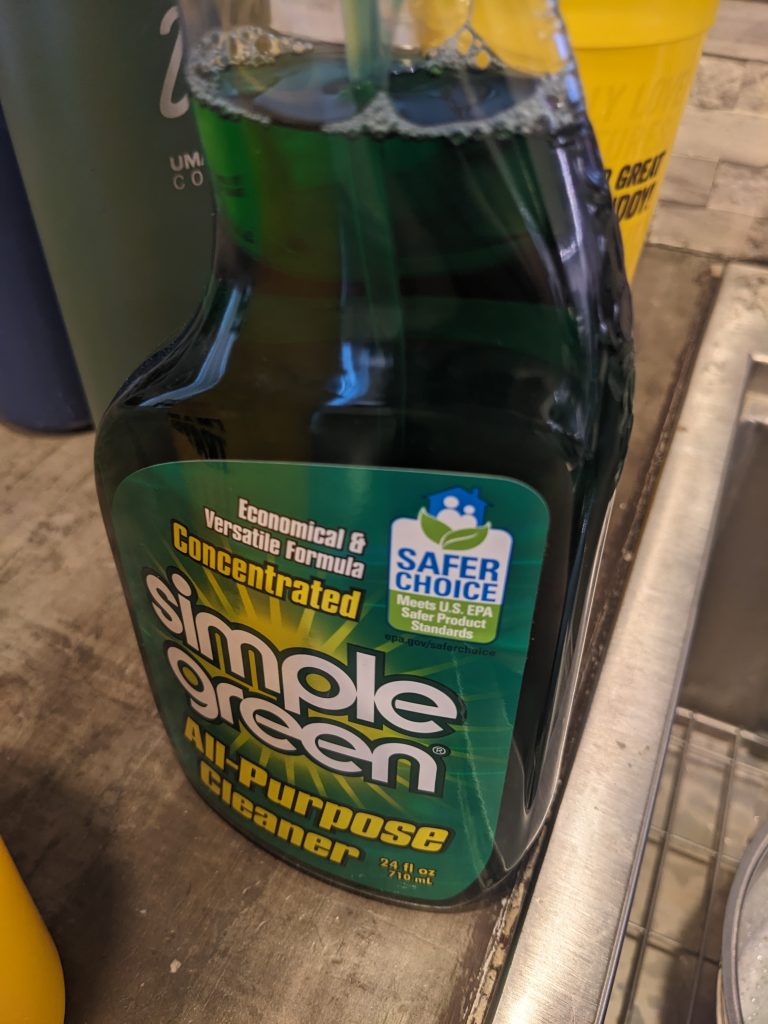
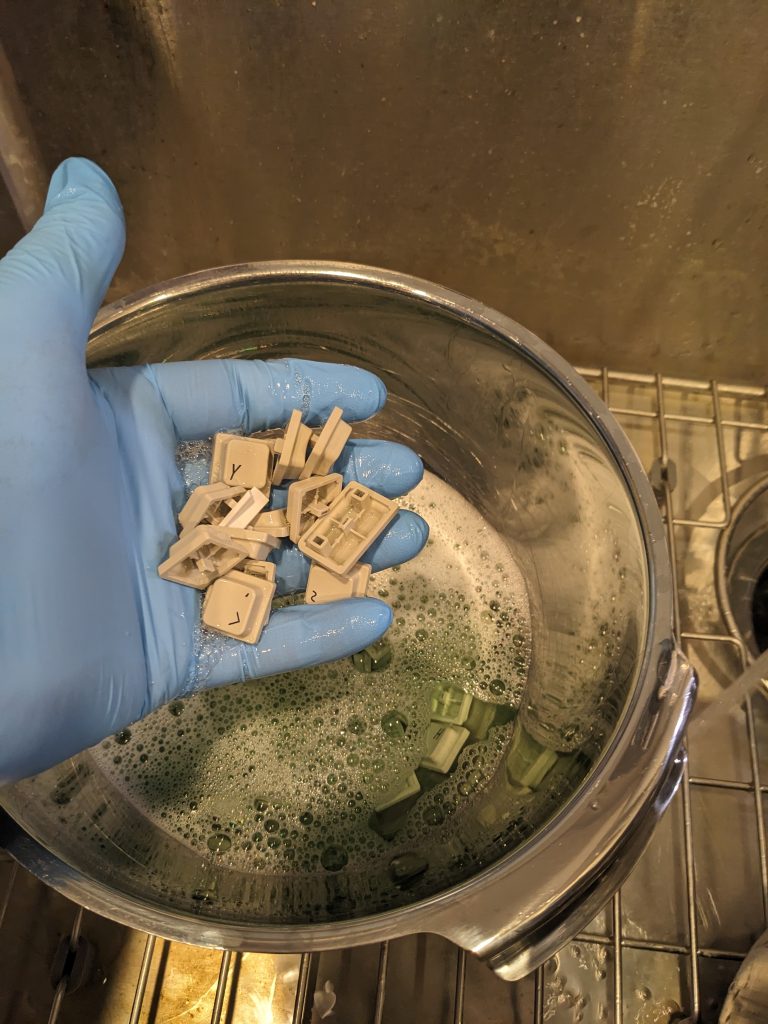
UPDATE – USE SIMPLE GREEN: When cleaning another keyboard a week after writing this post, we found that Simple Green really rocks at cleaning off keycap gunk. You can dunk all the keycaps into a diluted bowl of Simple Green and use a brush to clean them off. Give the keycaps a good rinse and dry before re-installing them. This seems to go a lot faster than scrubbing with IPA and Q-tips:
Okay, you’ve cleared out the dust bunnies and you’ve satisfied your OCD by scrubbing a hundred keycaps while listening to the same music playlist on repeat. Time to reattach the keycaps. Here’s a few pictures on how that little wire thing underneath the bigger keys goes back together. CLICK LEFT/RIGHT to glide through the slideshow:

STICKY KEYS NOTES: For sticky keys, use your favorite lube (not going to suggest a lube here, there are deep arguments on the internet as to what, if any, is the correct lube to use for keys). If it ain’t broke, don’t fix it. But if your key isn’t going up and down nicely and you already tried cleaning it, its ok to try some of your favorite lube (dry lube, lithium lube? Again, visit internet forums for arguments over which is better) to fix the key. Lots of people have tried and had various degrees of success.
That’s it. You’re ready to re-assemble this thing and test it to find out if you boinked any of your key mechanisms or not. One last note, the keyboard has little metal grounding tab thingies that sort of sit into slots in the floppy drive. Here’s a closeup. Just finaggle with the keyboard until it sits in these slots.

Follow the dissassembly steps in reverse order and voila, you have yourself a new shiny vintage arcade keyboard to play with!