

I sold a platinum Mach III with a DB9 connector (Apple IIC / IIE) version last year and I regret it. The colors were pristine and I had dissassembled, cleaned, and lubed every millimeter of it. It was a real gem of a joystick.
I still have a dirty old yellowy nasty grimey Mach III in the bin with a DB9 connector on it. Time to polish it off as best as we can and see how close to original we can make it. Things you’ll want to have on hand for a joystick refurbishment:
- Phillips screwdriver (regular size)
- Phillips screwdriver (jeweler’s size)
- Tweezer/small flathead screwdriver (for prying)
- DeoxIT Fader F5 F-series (for cleaning the X and Y axis potentiometers)
- Blue shop towels or your favorite shop rags
- Isopropyl (91% or greater) and/or simple green
- Toothbrush (not to be used in your mouth ever again)
- Q-tips
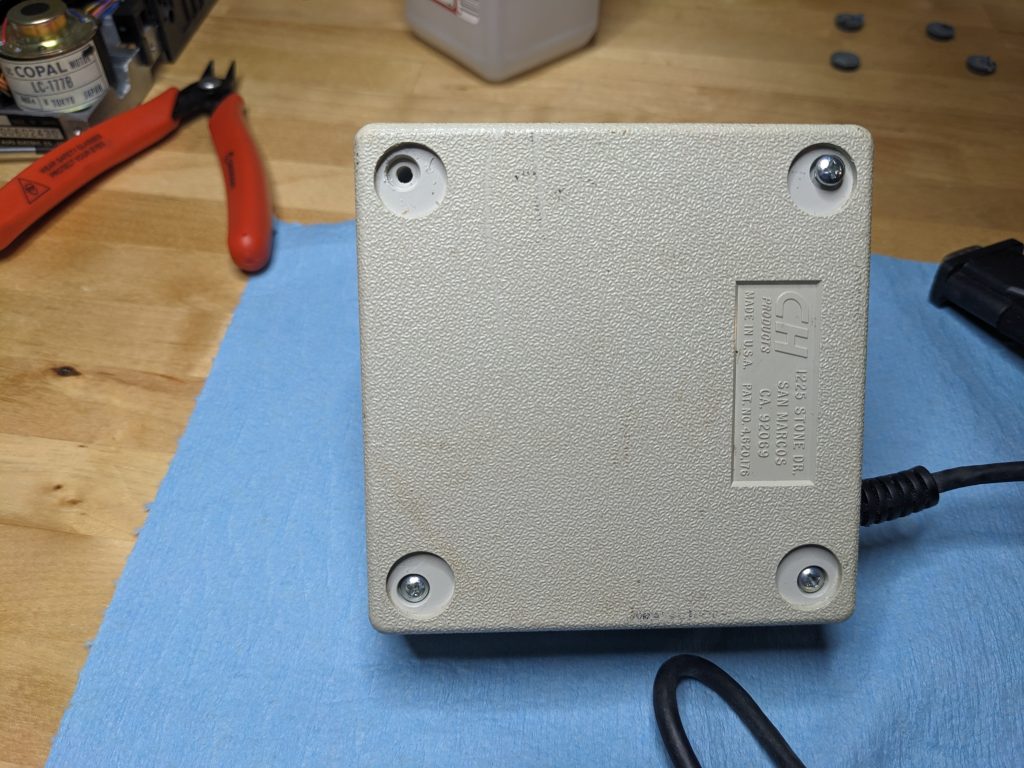
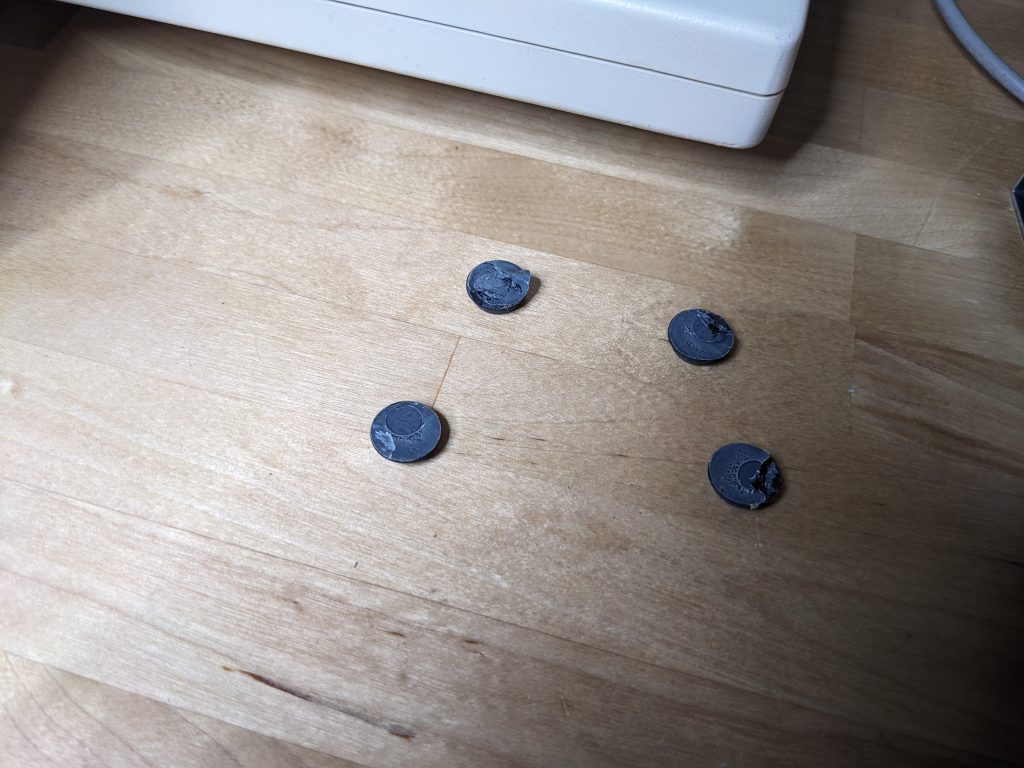
The easiest way to clean this thing is with soap and water in the sink, along with some toothbrush scrubbing with isopropyl alcohol or simple green. But to do that, we need all the parts dissassembled. Remove the rubber feet CAREFULLY to reveal four screws. There’s a small round sheet of sticky/glue on the rubber feet that would be useful to not tear or ruin, so you can stick the feet back on easily later. It’s a bit difficult to get both the rubber foot and the sticker together.
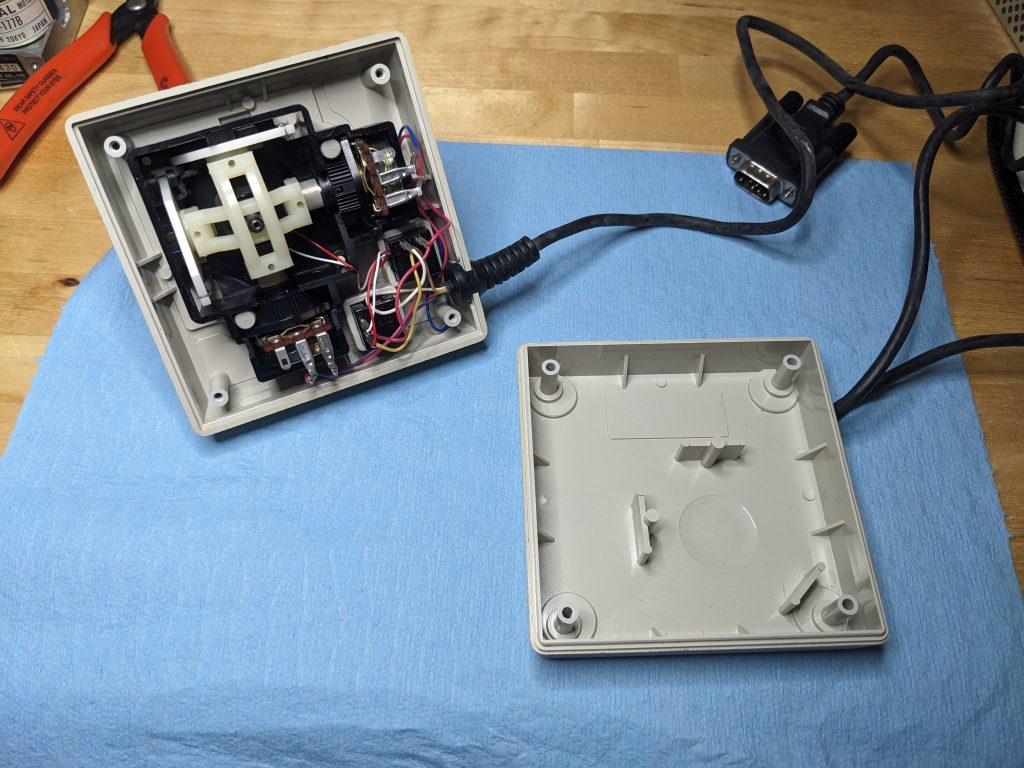
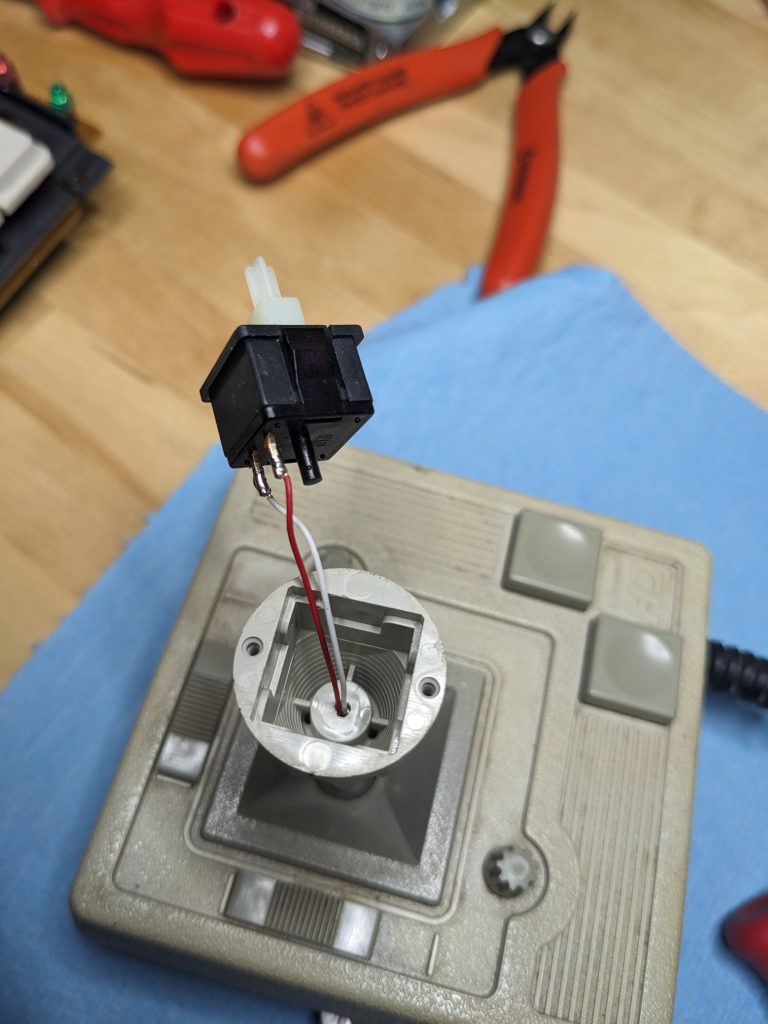
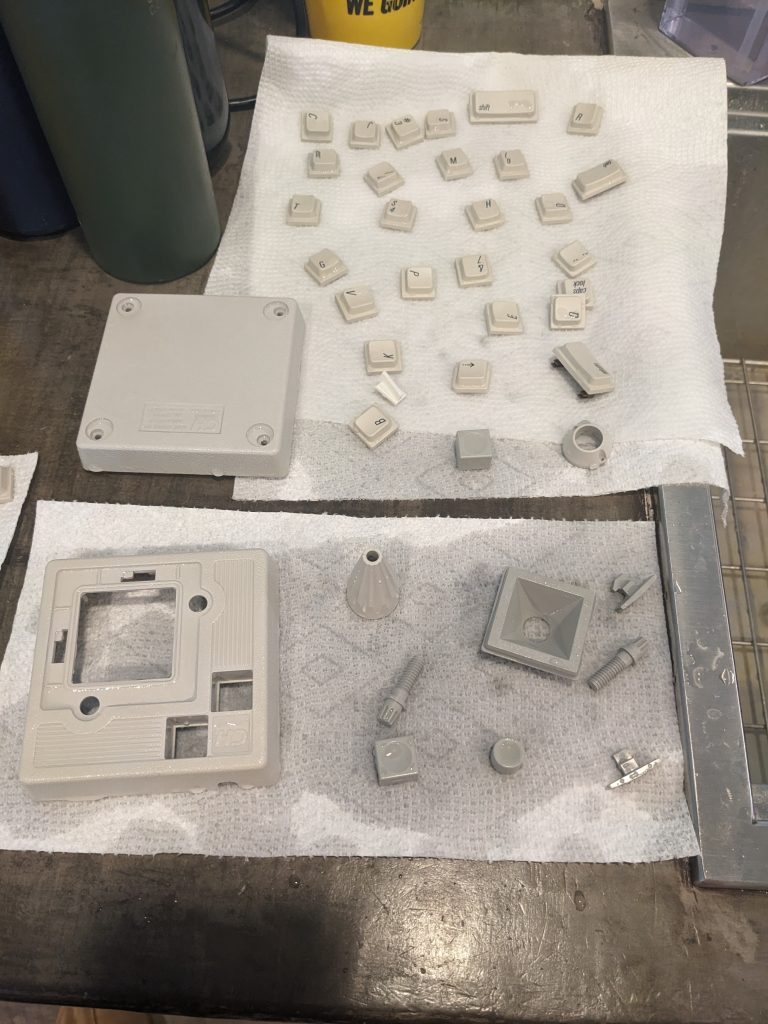
Once you’ve gotten the shell open, take lots and lots of photos with your phone of everything from all sorts of different angles so you can figure out how to put it all back together later. The Mach III has a button on the top of the joystick that’s held by two little screws. Here’s what it looks like inside once you remove the top button:
STEM REMOVAL: If you want to remove the conical grip off the metal joystick stem, apply some heat with a heat gun to heat up the plastic and then pull the plastic grip off the metal rod. Your model may vary, but this one was a “press fit” type of connection that needed some heat to release. The stem has a tendency to crack, not sure if this is exacerbated by the heating and expansion. Alternately you could leave the stem installed.
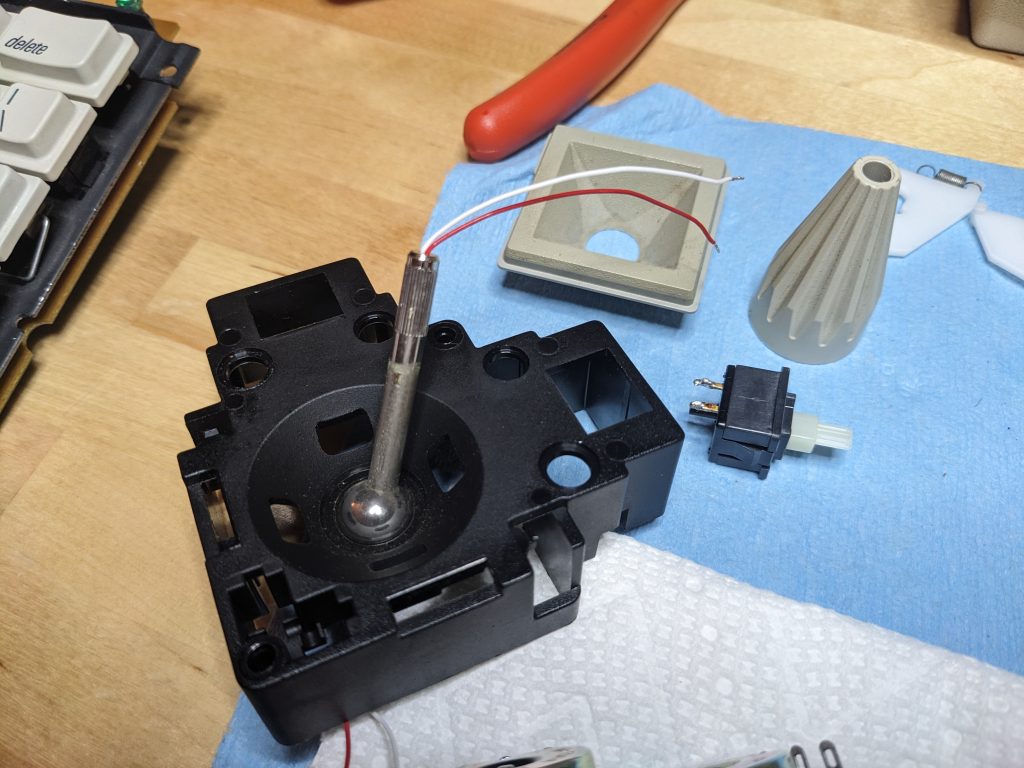
Our Mach III has little crimp-ons that make removing the wires easier. Now we just start unplugging wires and dissassembling everything.
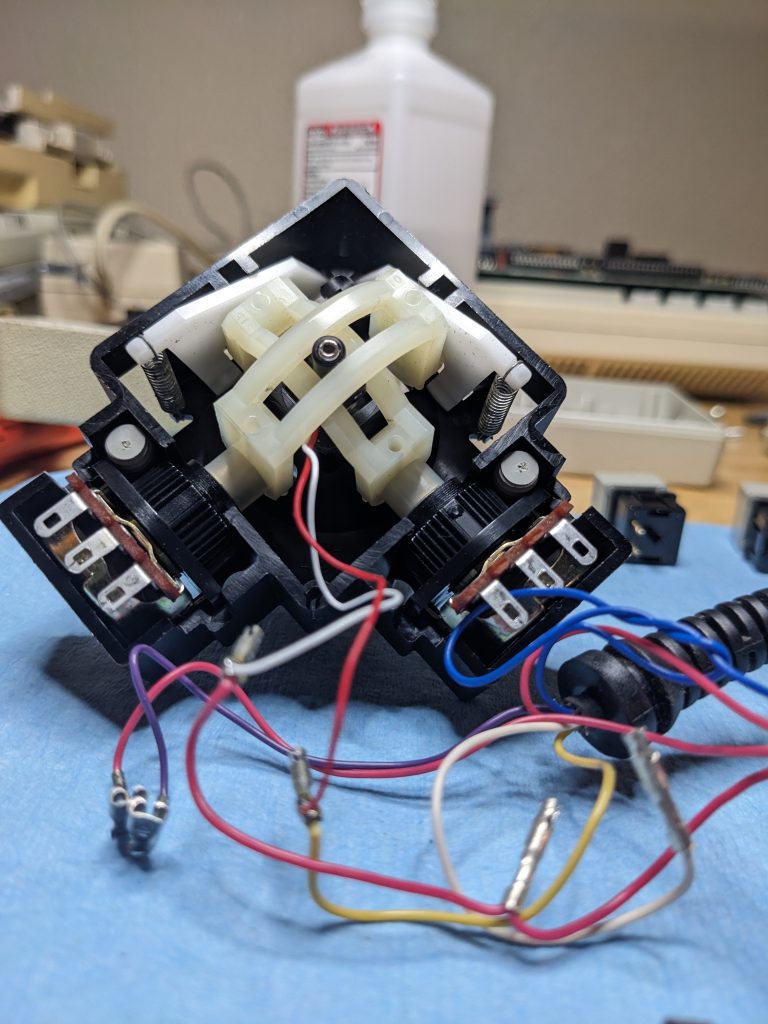
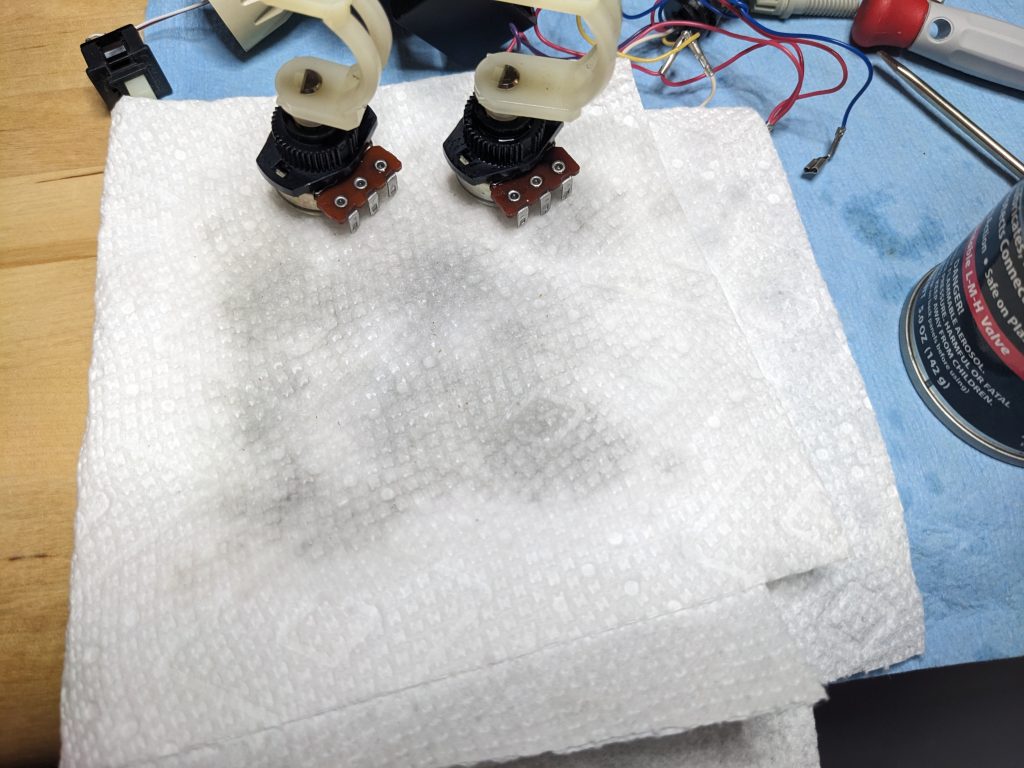
First things first, I want to clean the potentiometers. If you do ONE thing, clean your pots. Turn the plastic stems the full range a few times to get a feel for the condition of the pots. This particular joystick, was clearly stored in a dirty garage somewhere so these pots felt pretty bad when turning them.
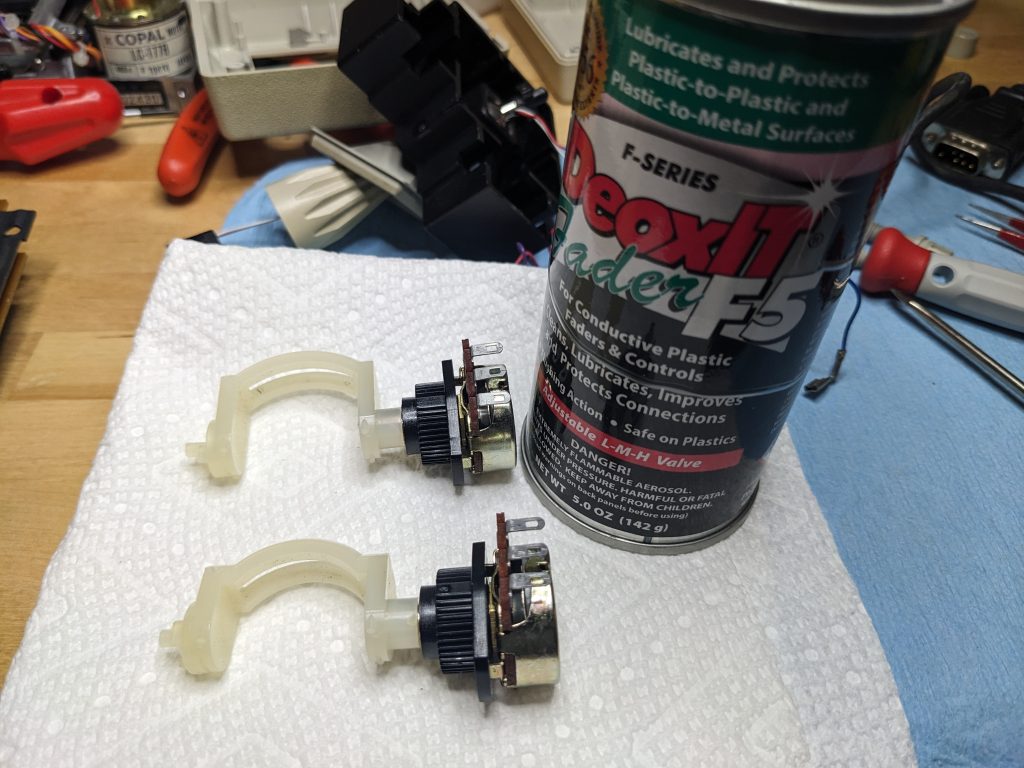
Stick the nozzle of your Deoxit F5 right into the big opening on the front of the pot and give it a liberal shot of chemical.
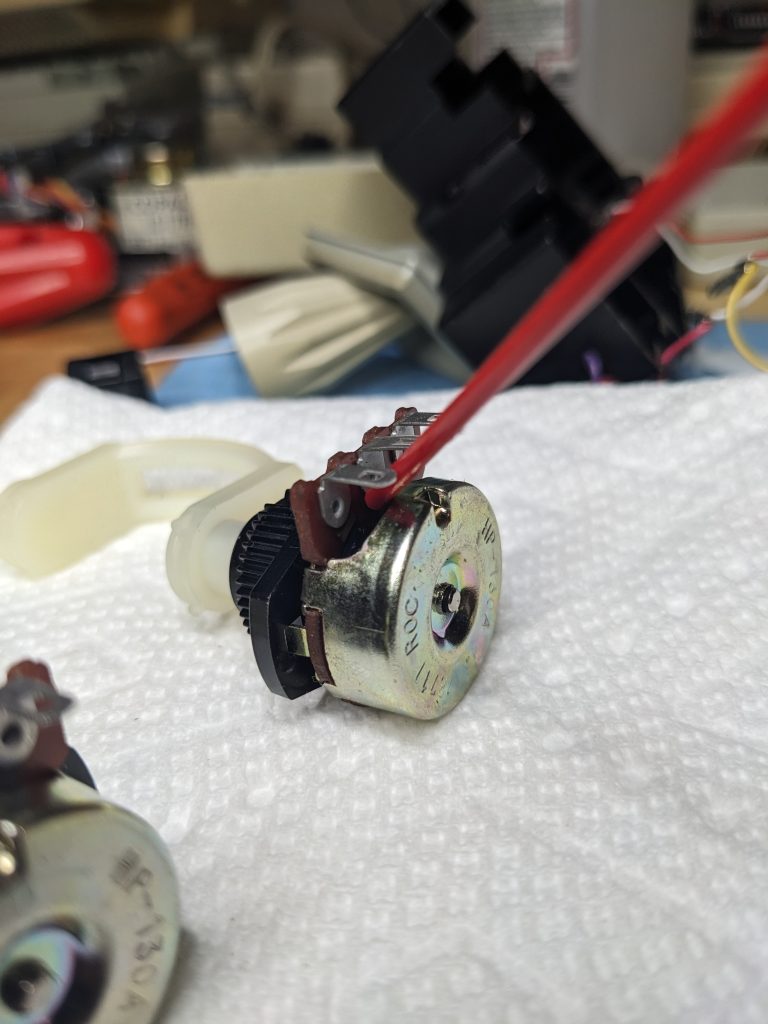
Then, start turning the plastic stem back and forth the full range of the pot. Do these several dozen times or until you are bored. It’s important to keep moving the pots back and forth over their full range so the deoxit can get in all the different nooks and crannies and do its magic. Then dump out the remaining Deoxit on a towel. Do this process two or three times until the plastic stems are nice and smooth and there’s hardly any resistance. You’ll be shocked how much smoother these parts move once you’ve flushed them with deoxit. Look at all this bad stuff that came out:
That’s it for the fun part. The rest of the steps involved scrubbing and cleaning up all the plastic bits and pieces. You can use dish soap and water, and/or diluted simple green, and a brush. In the photos below we only used soap and water (we later found out that simple green works waaay better at removing grime):
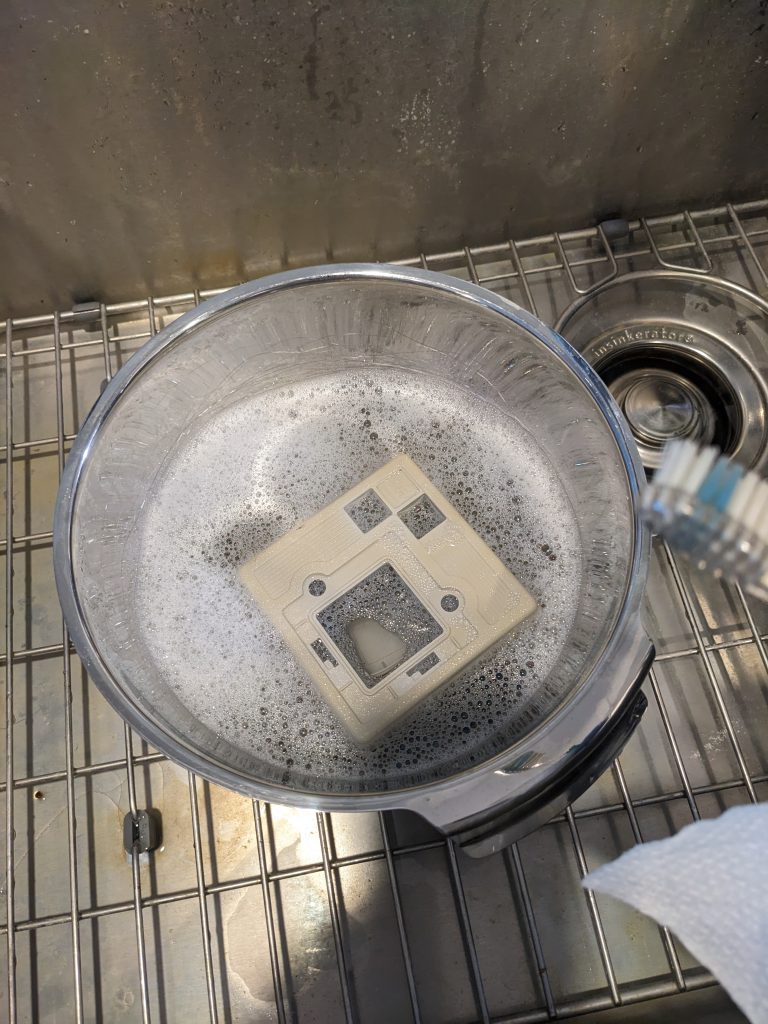
NOT PICTURED: Painstaking polishing with isopropyl alcohol and q-tips. You can see in the above photo there is still grime (black gunk). The yellowing of the plastic will not come off at this stage and requires retrobriting, but in order to get good retrobrite results, you really should remove all possible gunk. We later found out that simple green is superior, with isopropyl and q-tips being the back-up for extra stubborn gunk.
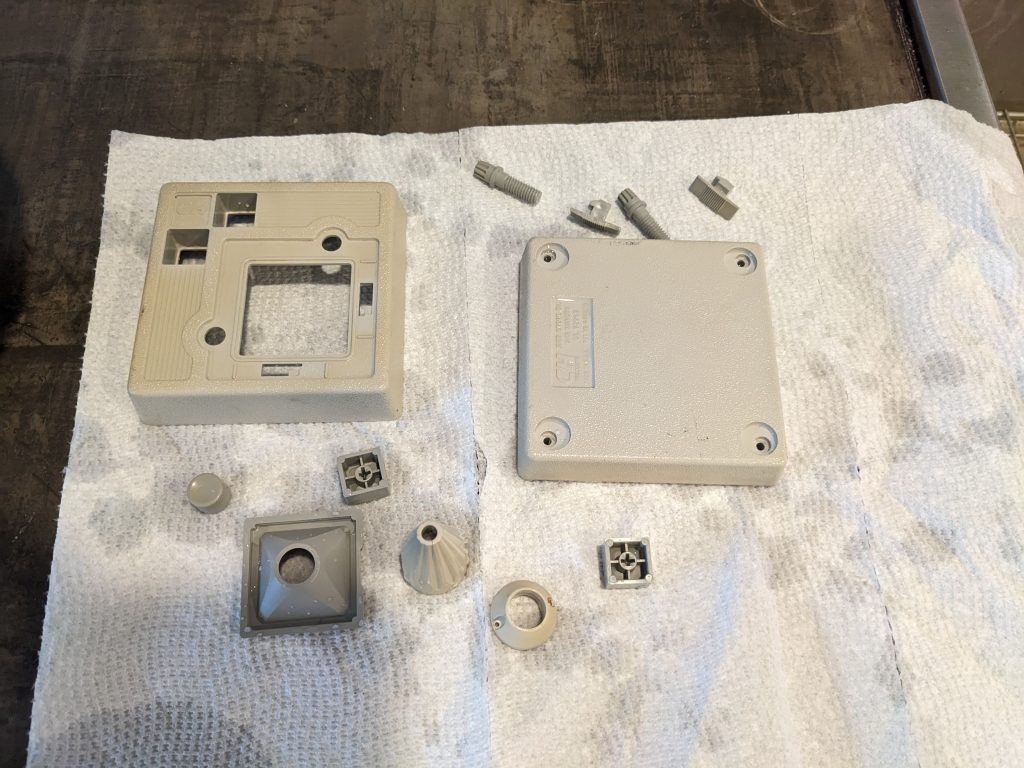
Retrobrite time! I took the grey pieces and put them in a plastic tub full of hydrogen peroxide and illuminated it with grow lights. Note that supposedly not any old black lights will work; you want grow lights that have a different light frequency spectrum. I am told that the grow lights do absolutely nothing since the plastic tub absorbs all the important lights, but I’m no scientist and it seems to work for brightening my parts.
I do know that I dislike the retrobrite gel as it leaves weird streaks on everything. I just use a tub with 2 gallons of 12% hydrogen peroxide dumped inside. Parts tend to float so you have to find something to weight them down to keep them submerged.
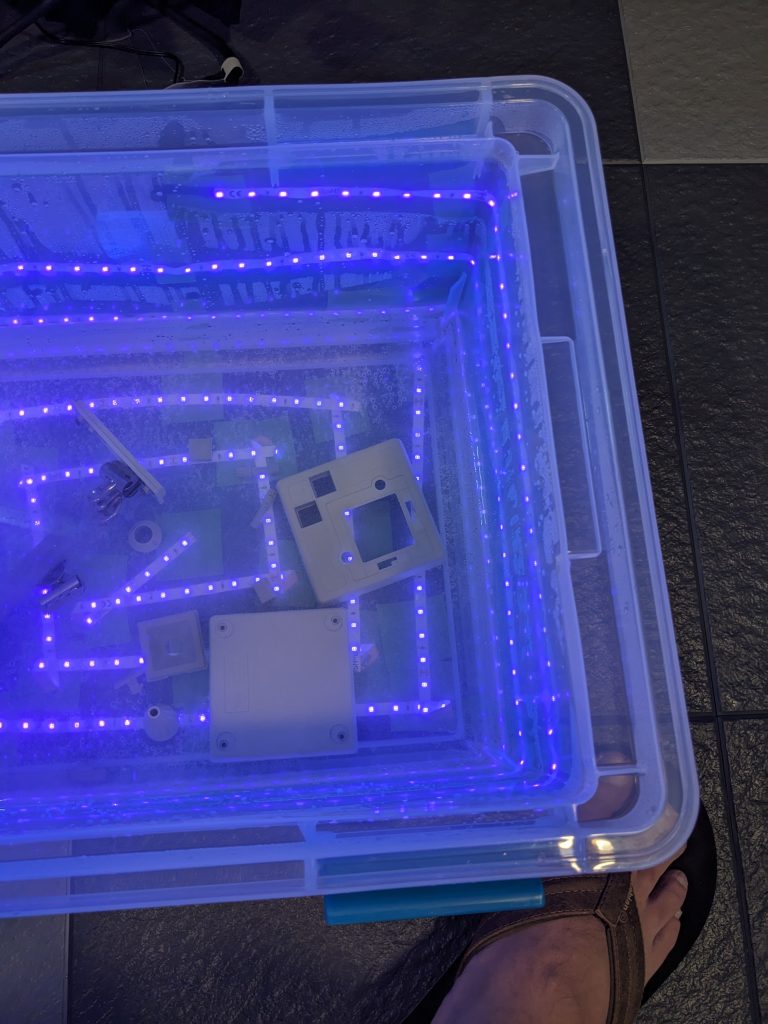
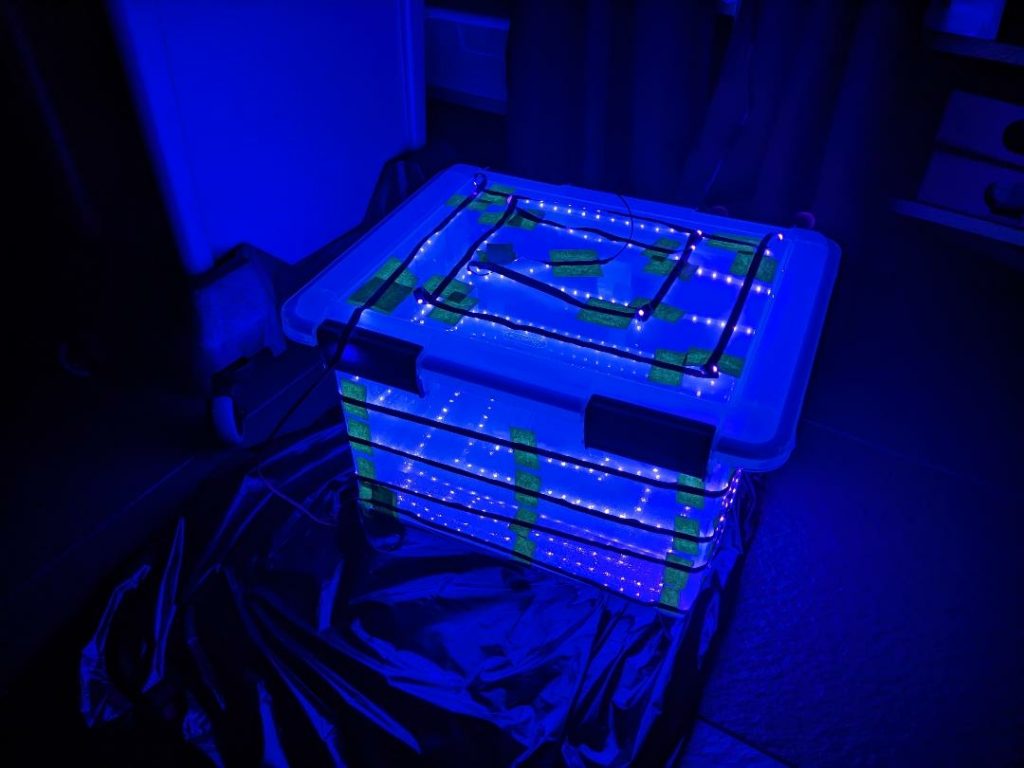
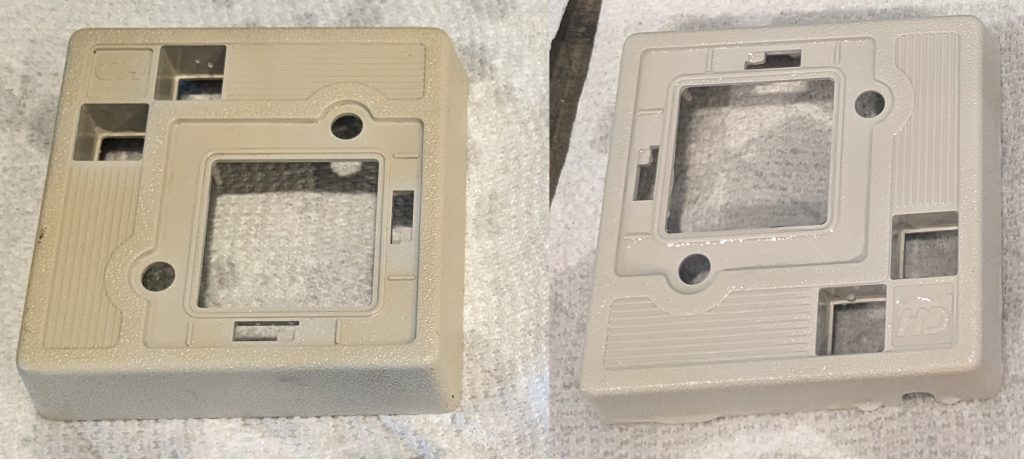
The hydrogen peroxide used was a mix of 12% and 3% and was about 10 months old, and though it was stored on a dark shelf, it may have lost some potency. Here’s the results of the plastic after a 24-hour retrobrite session:
And of course the side-by-side before and after comparison:
Pots are cleaned, unit is scrubbed and cleaned all over, grey bits were retrobrited. Reassembly is a bit of a puzzle; hope you remembered to take pictures before you tore everything apart so you could figure out how to put it all back together again.